Step-by-Step Guide to Osprey Kitchen Cabinet Installation

Step-by-Step Guide to Florida Kitchen Cabinet Installation
Installing kitchen cabinets in Florida requires careful planning, precise measurements, and an understanding of local building codes. Whether you’re a DIY enthusiast or working with

What are the best kitchen cabinet styles for a coastal look in Venice
Here are some of the best kitchen cabinet styles for achieving a coastal look in Venice: 1. Neutral Lake House Style: 2. Coastal Tradition with
Are Cheap Kitchen Cabinets in Nokomis Worth It? Pros and Cons
Here are the pros and cons of opting for budget-friendly kitchen cabinets in Nokomis: Pros: Cons: In conclusion, budget-friendly kitchen cabinets in Nokomis can be
How to Save Money on Kitchen Cabinets in Vamo Without Compromising Quality
Here are several strategies to save money on kitchen cabinets in Vamo without compromising on quality: 1. Opt for Ready-to-Assemble (RTA) Cabinets: 2. Choose Stock
Custom vs. Pre-Made Cabinets in Plantation: Which Is Right for You?
When deciding between custom and pre-made cabinets for your kitchen in Plantation, it’s essential to weigh the pros and cons of each option to determine
How to Find Affordable Kitchen Cabinets in Warm Mineral Springs That Look Expensive
Here are some strategies to find affordable kitchen cabinets in Warm Mineral Springs that still look expensive: 1. Explore Ready-to-Assemble (RTA) Cabinets: 2. Consider Stock
Step-by-Step Guide to Osprey Kitchen Cabinet Installation
Here is a step-by-step guide to installing kitchen cabinets in Osprey: Step 1: Preparation Step 2: Installing Wall Cabinets Step 3: Installing Base Cabinets Step
10 Budget-Friendly Kitchen Cabinet Refacing Ideas in Laurel
Here are 10 budget-friendly kitchen cabinet refacing ideas tailored for homeowners in Laurel, MD: By implementing these ideas, you can achieve a refreshed kitchen look
DIY Refinishing Tips for Your Wood Kitchen Cabinets in Englewood
Here are some DIY refinishing tips for your wood kitchen cabinets in Englewood: DIY Refinishing Tips Quick Fix Without Full Refinishing If you don’t want
How to Choose the Perfect North Port Kitchen Cabinet Design for Your Space
Choosing the perfect North Port kitchen cabinet design involves considering several factors, including style, functionality, and budget. Here’s a guide to help you make the
Modern Kitchen Cabinets vs. Traditional in Venice Gardens: Which One is Right for You?
When deciding between modern and traditional kitchen cabinets in Venice Gardens, consider the following factors to determine which style is right for you: Modern Kitchen
Timeless vs. Trendy: South Venice Kitchen Cabinet Styles for Every Home
When choosing between timeless and trendy kitchen cabinet styles in South Venice, consider the following options: Timeless Kitchen Cabinet Styles Trendy Kitchen Cabinet Styles By
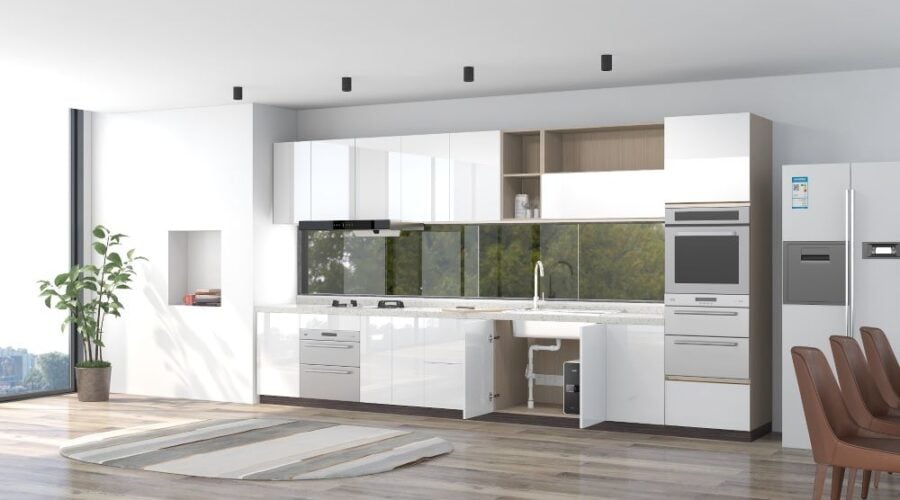
Minimalist Venice Kitchen Cabinet Styles for a Sleek Look
For a minimalist kitchen cabinet style in Venice, consider the following sleek and modern design elements: Minimalist Kitchen Cabinet Styles By incorporating these minimalist design

