Bayshore Gardens Concrete Floor Repair
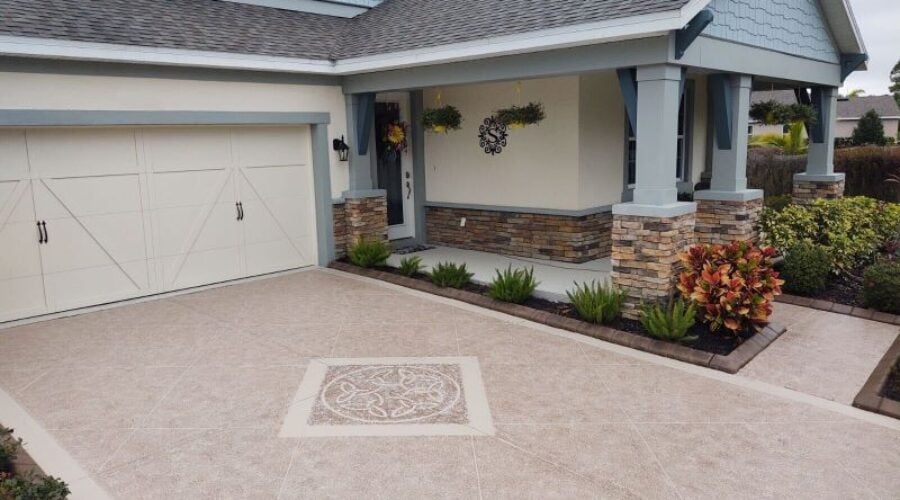
Bayshore Gardens Concrete Flooring Services for Modern Homes: Trends & Ideas
Concrete flooring in Bayshore Gardens has become a staple in modern home design, offering a blend of durability, sustainability, and aesthetic appeal. Here are some

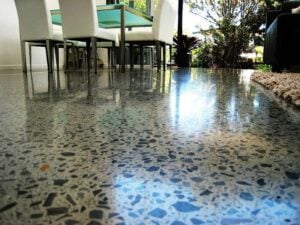
The Benefits of Polished Residential Concrete Flooring in Bayshore Gardens
Polished residential concrete flooring in Bayshore Gardens offers numerous benefits, making it an increasingly popular choice for homeowners. Here are some of the key advantages:

DIY vs. Professional Bayshore Gardens Concrete Floor Installation
Choosing between DIY and professional concrete floor installation in Bayshore Gardens depends on various factors. Here’s a comparison to help you decide which option is
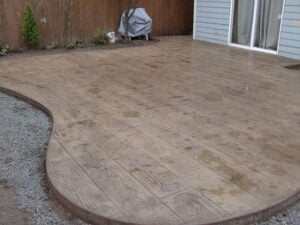
10 Stunning Bayshore Gardens Residential Concrete Flooring Ideas for Modern Homes
Here are ten stunning Bayshore Gardens residential concrete flooring ideas for modern homes, highlighting their unique features and aesthetic appeal: 1. Polished Concrete Flooring 2.
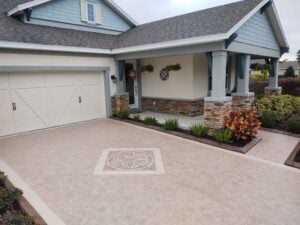
Bayshore Gardens Concrete Floor Repair
Repairing a concrete floor in Bayshore Gardens can extend its lifespan and improve its appearance. Here’s a step-by-step guide for homeowners to fix cracks, holes,

