DIY Privacy Fence Installation in Hudson: Tips & Tricks

The Cost of Installing a Hudson Wood Privacy Fence in 2025
In 2025, the cost of installing a wood privacy fence in Hudson varies based on several factors: Material Costs Labor Costs Additional Cost Factors Average
DIY Privacy Fence Installation in Hudson: Tips & Tricks
DIY Hudson Privacy Fence Installation: Tips & Tricks Installing a privacy fence can be a rewarding DIY project that enhances your property’s security and aesthetics.
The Pros and Cons of Different Hudson Privacy Fence Materials
When considering privacy fencing for your Hudson property, it’s important to weigh the pros and cons of different materials. Here’s an overview of the most
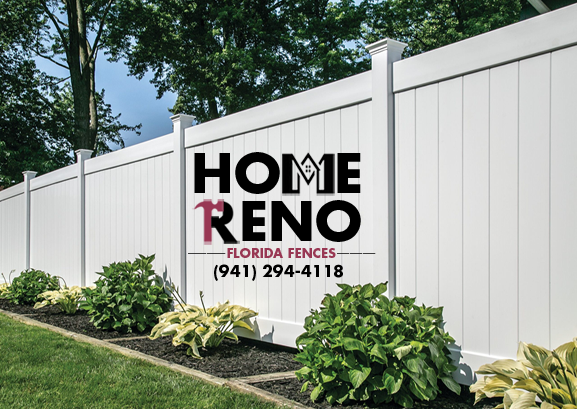
Enhance Your Yard with Hudson Vinyl Privacy Fence Service
Enhancing your yard with a Hudson vinyl privacy fence service can significantly improve both the aesthetic appeal and functionality of your outdoor space. Here are
Privacy Fence Installation Hudson
Homeowner Incentives for Privacy Fence Installation in Hudson While privacy fences can offer several benefits to homeowners, there are limited direct financial incentives specifically for
Vinyl Privacy Fence Contractor Hudson
When comparing vinyl privacy fence contractor quotes in Hudson, it’s essential to understand the key factors that influence pricing and quality. Here’s how to effectively
Wood Privacy Fence Installation Hudson
Wood privacy fence installation services in Hudson face several challenges that can impact the quality and longevity of the finished product. Here are some of
Vinyl Privacy Fence Costs Hudson
The average cost of installing a vinyl privacy fence in Hudson ranges from $30 to $60 per linear foot installed. For a typical 200 linear
How to Extend the Height of an Existing Fence in Hudson for More Privacy
If you’re looking to extend the height of your existing fence in Hudson for more privacy, there are several effective methods you can consider: Adding