How to Install a Privacy Fence in Pinellas Park – Step-by-Step Guide
Installing a privacy fence in Pinellas Park is a great way to enhance your property’s security and aesthetics. Here’s a comprehensive step-by-step guide to help you through the process:
Planning and Preparation
Obtain Necessary Permits: Before starting, obtain a fence permit from Pinellas Park authorities. This ensures your project complies with local regulations.
Mark Your Boundaries: Clearly identify your property lines to avoid disputes with neighbors.
Contact Utility Companies: Call local underground utility locators to mark any buried lines before digging.
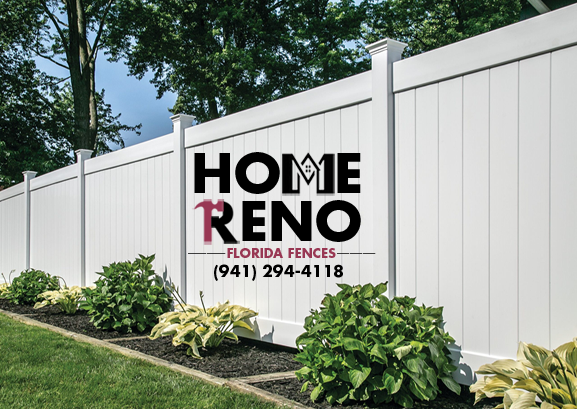
Choose Your Fence Material: While wood is a popular choice, consider vinyl or PVC for durability in Florida’s climate.
Layout and Measurements
- Run strings to mark the layout of your fence.
- Mark post hole locations based on your fence panel widths and gate openings.
- Use spray paint to mark gate placements.
Digging Post Holes
- Dig holes according to your permit specifications.
- Typically, holes should be one-third the length of the post plus a few inches for gravel.
- Add 3-4 inches of gravel at the bottom of each hole for drainage.
Setting the Posts
- Mix concrete according to package instructions.
- Place the post in the hole, ensuring it’s straight and level.
- Pour concrete around the post, filling about two-thirds of the hole.
- Check for straightness and levelness, then add more concrete to 2-3 inches above ground level.
- Slope the concrete away from the post to prevent water pooling.
- Allow concrete to cure for 24-48 hours.
Installing Rails and Panels
- Measure and cut rails to fit between posts if necessary.
- Attach rail brackets to the posts.
- Secure rails to the brackets, starting with the bottom rail.
- If using pre-assembled panels, attach them to the posts.
Adding Pickets
- For component-built fences, attach pickets to the rails.
- Ensure the “pretty” side faces outward towards neighbors or the street.
- Use appropriate screws or nails designed for treated lumber.
Installing the Gate
- Attach gate hinges to the gate post.
- Hang the gate and ensure it swings smoothly.
- Install the latch and any additional hardware.
Finishing Touches
- Add post caps for a polished look.
- Apply a weather-resistant sealant or stain if using wood.
Remember to space your posts consistently, typically 6-8 feet apart, and maintain a level top line throughout the fence8. Take your time with each step to ensure a sturdy, long-lasting privacy fence that complies with Pinellas Park regulations and enhances your property value.