Step-by-Step Guide to Bayshore Gardens Kitchen Cabinet Installation

Affordable Luxury: Bayshore Gardens Custom Kitchen Cabinets on a Budget
Here are some practical ways to achieve affordable luxury with custom kitchen cabinets in Bayshore Gardens on a budget: 1. Opt for Ready-to-Assemble (RTA) Cabinets

Pros and Cons of Kitchen Cabinet Refacing in Bayshore Gardens
Kitchen cabinet refacing in Bayshore Gardens offers a cost-effective way to update your kitchen’s appearance without a full renovation. Here are the key pros and

How to Choose the Best Wood for Your Kitchen Cabinets in Bayshore Gardens
Choosing the best wood for your Bayshore Gardens kitchen cabinets involves considering several factors: Durability Appearance Cost Maintenance Style Compatibility When selecting wood for your

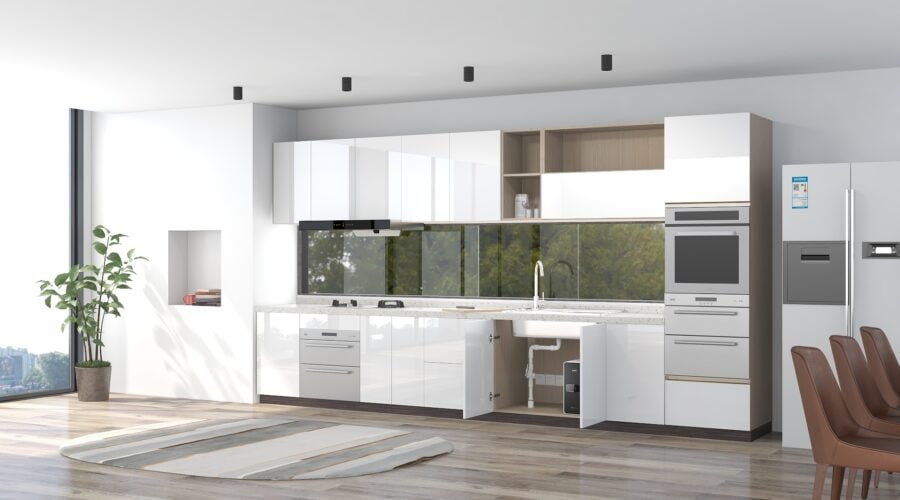
Step-by-Step Guide to Bayshore Gardens Kitchen Cabinet Installation
Here’s a step-by-step guide to installing kitchen cabinets in Bayshore Gardens: 1. Preparation 2. Install Upper Cabinets 3. Install Base Cabinets 4. Finishing Touches Essential

